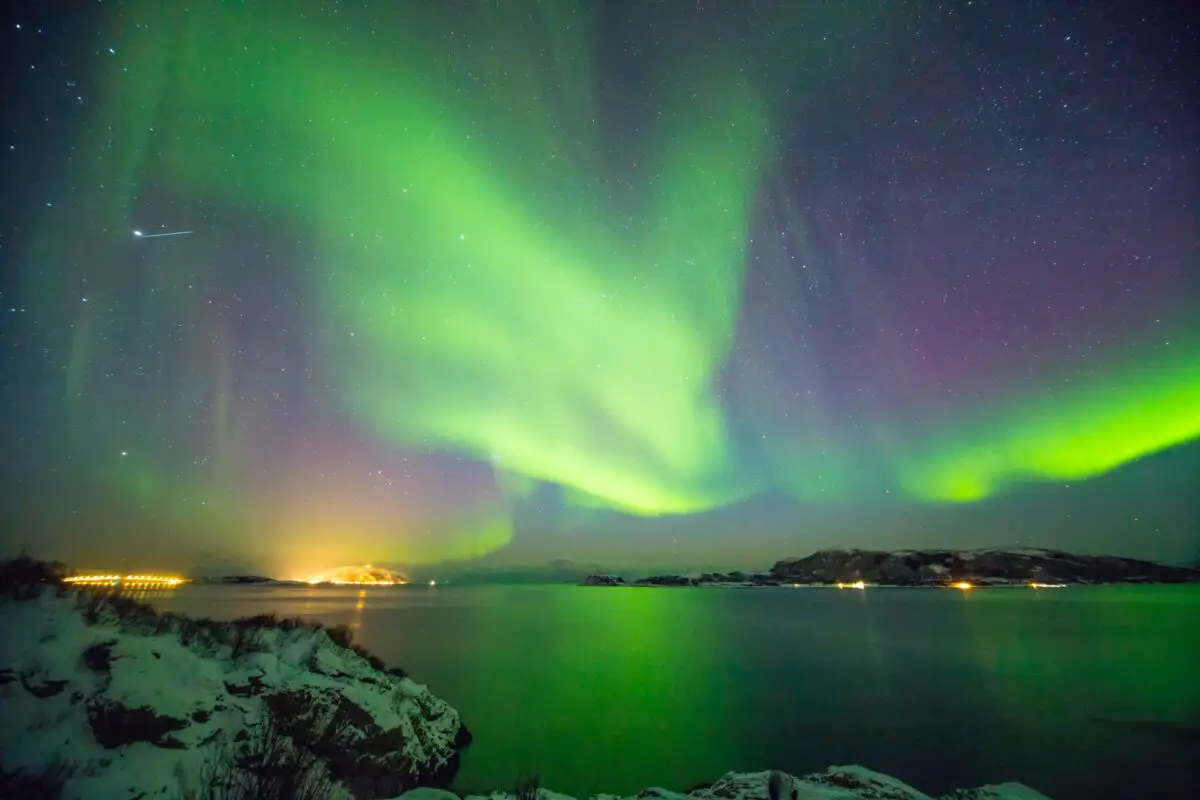
Northern Lights in Lapland are one of the main attractions of this magical area. Let us tell you our best tips on how to capture Lady Aurora, this green phenomenon, with your on camera.
Photographing northern lights is a bit more complicated than just setting your camera settings with an f/2.8 wide-angle lens to ISO 1600 and the shutter speed to 10 seconds. Our northern lights photography guide includes tips on when and where to be, how to set your camera the best, and things you should avoid to get the best photos out of your trip to Lapland.
How to set your camera to capture the northern lights?
Aurora photography guidelines in short
- bring a camera with a large sensor, wide lens, and large aperture
- shoot RAW images if possible
- set camera to manual mode
- set the white balance between 3000K and 4000K
- focus on the moon or distant light source (set focus on infinity)
- shoot with a max aperture
- start with ISO 1600 and play around
- start with 10-15 seconds of exposure time and adjust
- don’t underexpose.
- post-processing, editing is almost always done on those photos you see online
But now let’s check out the most important steps to capture Aurora in Lapland.
Which camera to use to picture the northern lights?
The bigger your camera’s sensors are, the better pictures you can take. Nowadays, even many mobile phones take amazing quality photos and have a lot of settings to change on them, but camera sensor areas are still bigger and your photos will have a lot better quality. Of course, if you just want to have photos on your phone, and don’t plan to utilize them in bigger sizes (for example, prints), you may get along with them too.
We highly recommend a DLRS camera, but even a mirrorless camera can work a charm. Some of the popular models are Nikon D5, Sony A7SI, Canon 5D Mark IV.
Wide Lenses
Lenses that have wide angles will cover the “whole sky”, or at least the biggest part of it. So if you are about to buy a new lens for your trip, check out these:
- 24mm focal length with an 84 degrees angle of view
- 16mm fisheye with a 180-degree angle of view
Use fast lenses
The bigger the aperture, the more light hits the sensor – which helps to capture northern lights better.
Lens apertures are specified by numbers. The smaller the number, the wider the aperture and the “faster” the lens. A faster lens allows you to use shorter exposure times and lower ISO. Important to factor in is that faster lenses may cost a lot more.
Have a tripod!
You do have the correct gear, so don’t save money on a solid tripod! For long exposures, you need your camera to be still, and you need to mount it to a tripod.
In case you take photos with your mobile photo, we highly recommend a tripod for it too!
What are the best settings for northern lights photography?
Set your camera to manual mode (or aperture mode, if the below tips are too complicated), so you will be able to change any settings to your desire. Pick a wide and fast lens and make sure you don’t keep any filters on. Set white balance around 3700K.
If you decided on aperture mode, then just adjust the exposure manually, and the camera does the rest (set the shutter speed) on its own.
ISO 1600 is a good place to start when photographing auroras, and you can go up to 3200 or more to have better quality, less mushy results.
In manual mode, you can go with the following settings:
with an f/2.8 wide-angle lens, set ISO 1600, and you could start with 10 seconds of exposure.
Then it’s time to correct your picture. Check the preview first.
- Is the image too dark? Increase either ISO or exposure time.
- Did you get an overexposed image? Lower the exposure time but keep the ISO up.
- Are your Northern lights photos blurry? Go for a shorter exposure time and higher ISO.
Tips to successfully see the northern lights in Lapland
- check the northern lights forecast
- and go to a place with a clear sky (check the weather forecast! Finland or Norway)
- head out of town for lower light pollution
- observe the sky towards the north (but keep in mind, that they may appear in any other direction too)
- dress warm!
Northern Lights Photo Tours
Are you still unsure where to head out or how to set your camera? One of the easiest ways to join is a guided northern lights tour, where the tour guide will not only take you to the right spot but also assist you with your camera settings.
Here are some highly-rated northern lights tours to choose from:
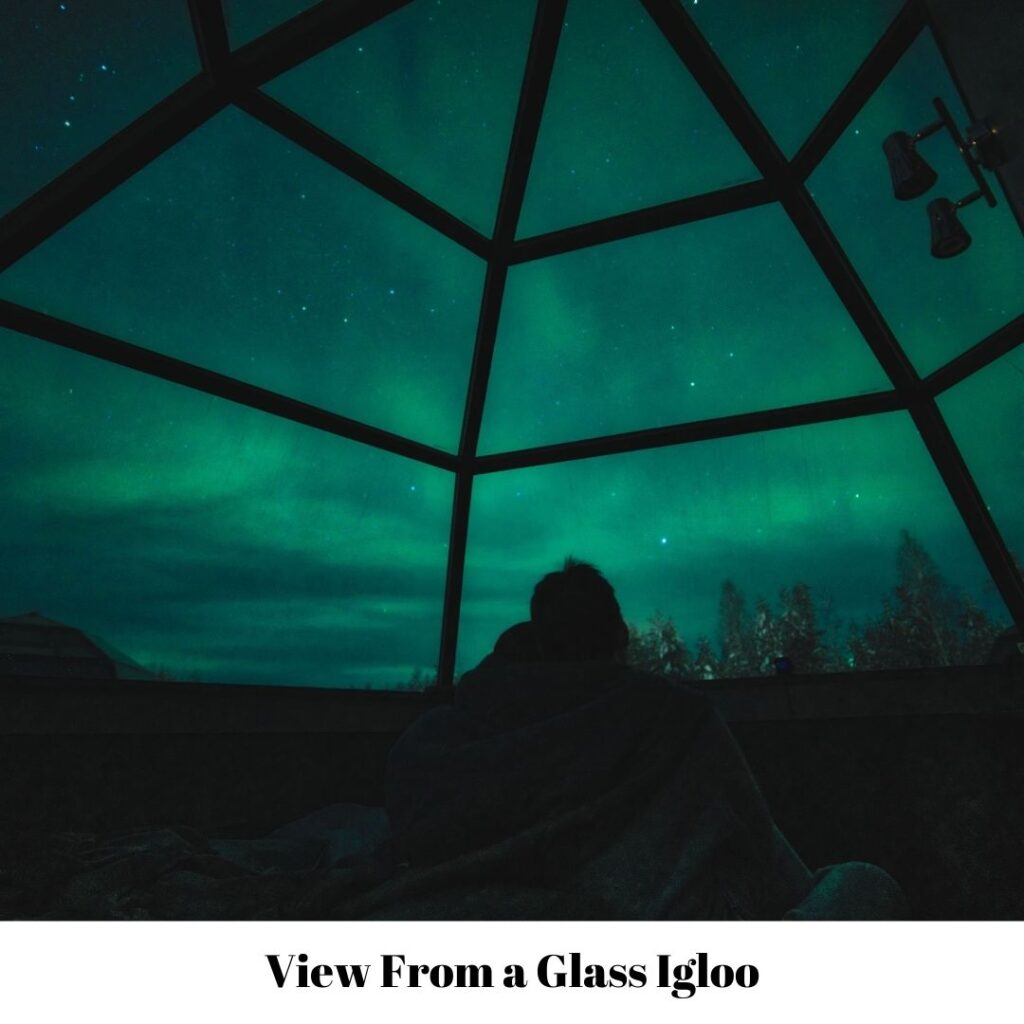
If you fancy just observing the northern lights from your bed, check out these hotels!
More tips to see the northern lights!
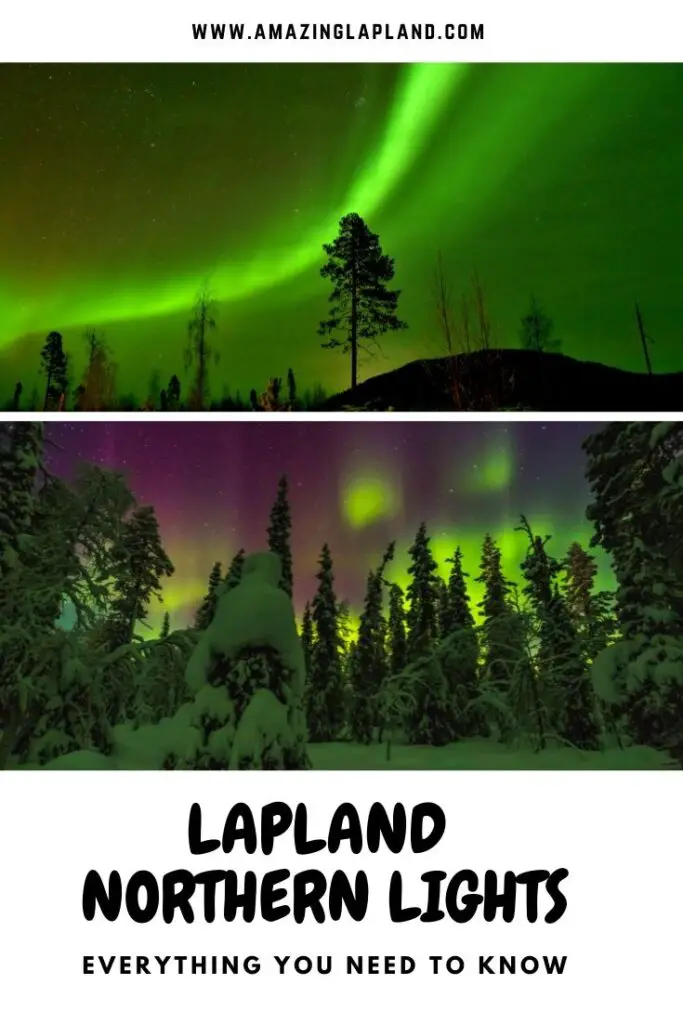
The northern lights are visible between September and late March across Lapland. However, several other conditions need to be met to be able to successfully spot and picture them.
Clear sky – No clouds
If the sky is covered with heavy snow clouds – which is quite often happening in winter – your chances to see Aurora are very slim.
A clear sky is a very crucial condition.
Darkness
Northern light activities are going on whole year-round, however, during the summer, for a few months, the sun doesn’t set below the horizon in Lapland even during the nights. That is the magical period of the midnight sun. In the prospect to see Auroras, you need the time of the year, when actually there is some nighttime.
So the best is to tie your visit between September and March.
In December-January, the days are really dark too, which gives a possibility to see the northern lights for a bit longer hours, than, for example, in September or March, close to the equilibriums.
Little to no light pollution
If there is no light pollution, you can spot even fainter colors on the sky. The best to head out of the settlements to somewhat remote places.
If you are not experienced with winter hiking, be careful in extreme temperature and snow conditions, and rely on local guides and professionals for your safety. In early autumn it is less risky to head out on a trip on your own.
The northern the better
The more north you go, the more chances you have to see auroras, as the smaller activities are only visible high up north.
High northern lights activity
Last but not least, you need a bit of luck, and have high northern lights activity during your visit.
The northern lights are “made” by particles from the sun, and even though the Sun’s activity can be loosely predicted in advance, most northern lights forecasts are only precise in 3-8 days’ time.

Northern Lights Alerts in Finland
There are numerous apps for mobile phones, however, we do not find them that useful, although usually they also indicate quite well the activities.
Another option is to sign up on the Finnish Meteorological Institute’s Auroras Now! website for e-mail alerts whenever the magnetic conditions in the skies over Finland make auroras visible.
- What to Wear in Lapland in Winter?
- Scenic Photo Locations in Lapland: The Most Instagramable Places

- The Secrets of Reindeer in Lapland: Best Safaris, Farms, and Get to Know Where They Live, How They Help Santa, and More

- Top 5 snowshoes for beginners
- Lapland Northern Lights Photography Guide

- Cold weather packing list: winter packing list for Norway
Kata of Amazing Lapland
The best way to learn about the magical Lapland is through the eyes and experiences of locals.
Explore with me how Amazing Lapland is!